


For whatever reason, you may be forced to host your WordPress site locally before then transferring it to the server after you have already paid for the domain and hosting.
A local development environment is suitable for people who want to practice WordPress without having to create an actual website. It also serves as a playground where you can try new things before they go live.
This article takes you through the entire procedure of setting up your local development environment for WordPress.
XAMPP
WordPress can't work on its own locally. We need to create a local server and a Database. XAMPP, a cross-platform development environment, will give us access to Apache for our local server and My SQL for our Database.
Go to the XAMPP website and download the version best fitted for your computer. I installed the Windows version for my site. There are also options for Linux and Mac Users.
apachefriends.org/download.html.(Use this Link)
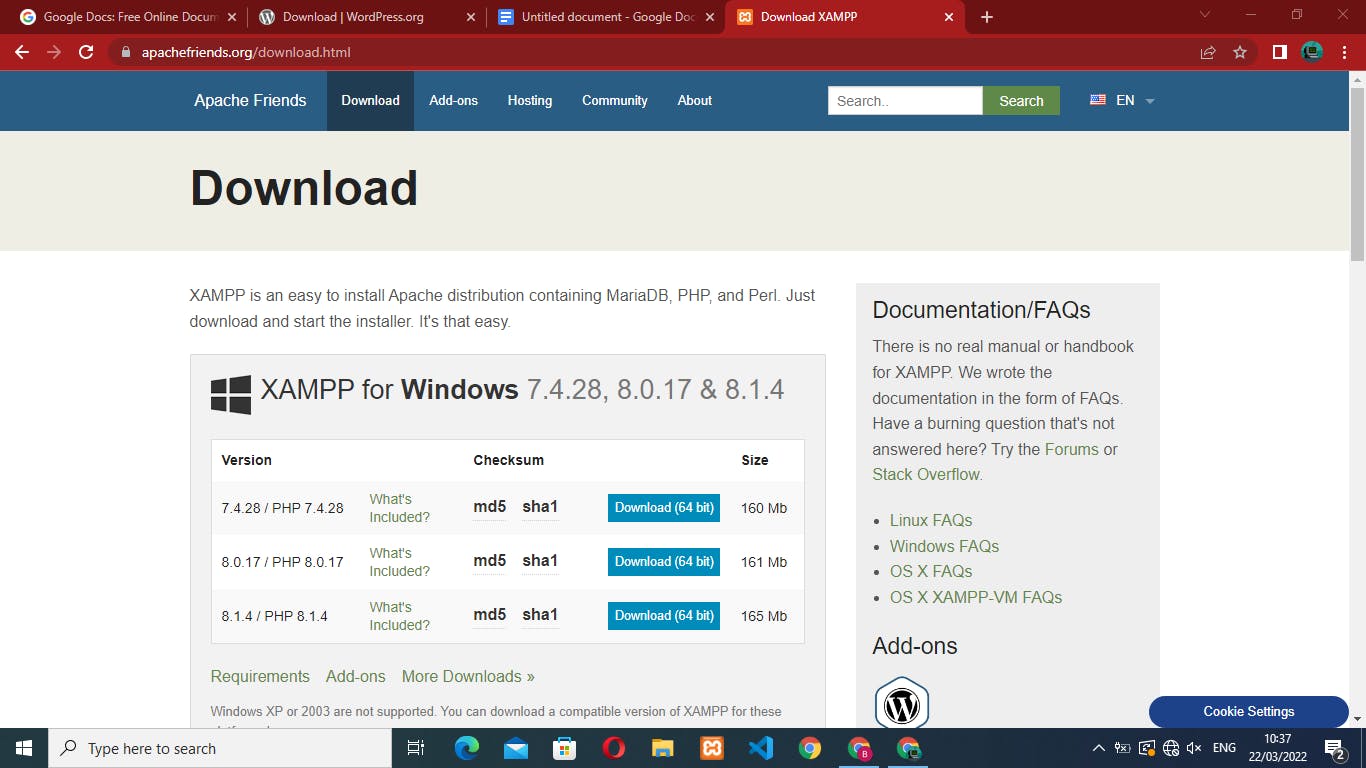
With the file downloaded, We will launch the installer and begin the XAMPP setup.
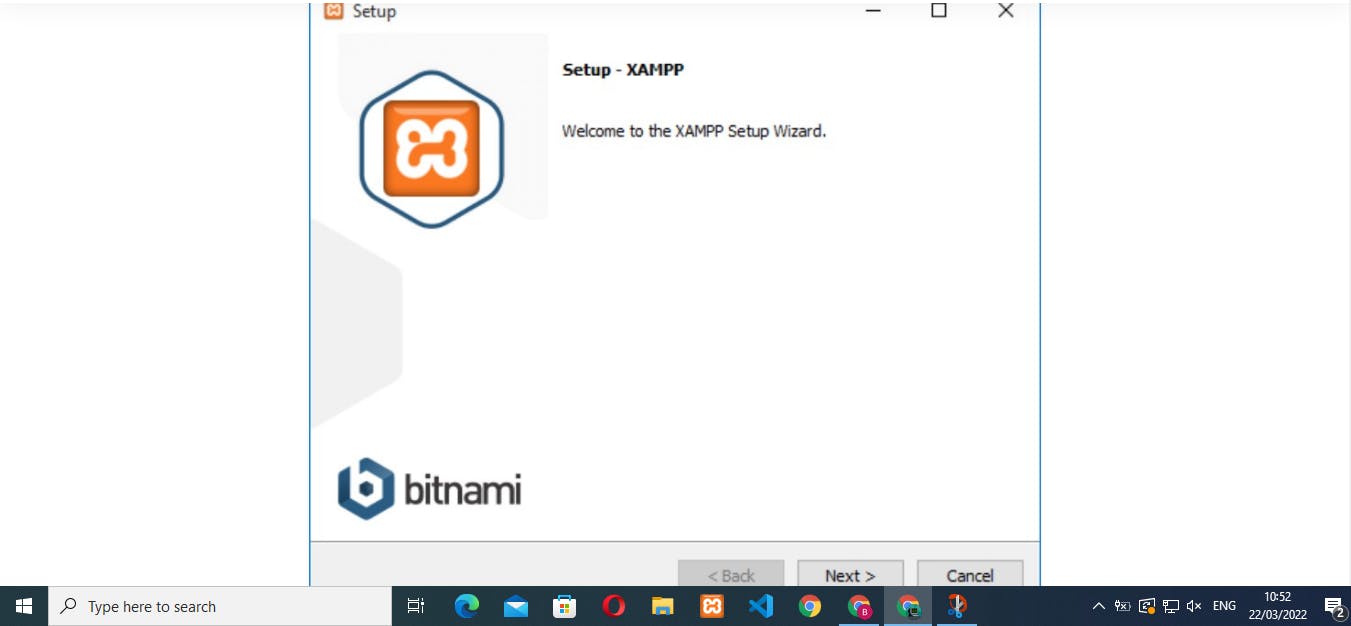
Click on the next button to proceed. Next, all the pages until you get to the page displayed below. The page will show you all of the platforms supported by XAMPP. Enable Apache and MySQL and disable the rest.
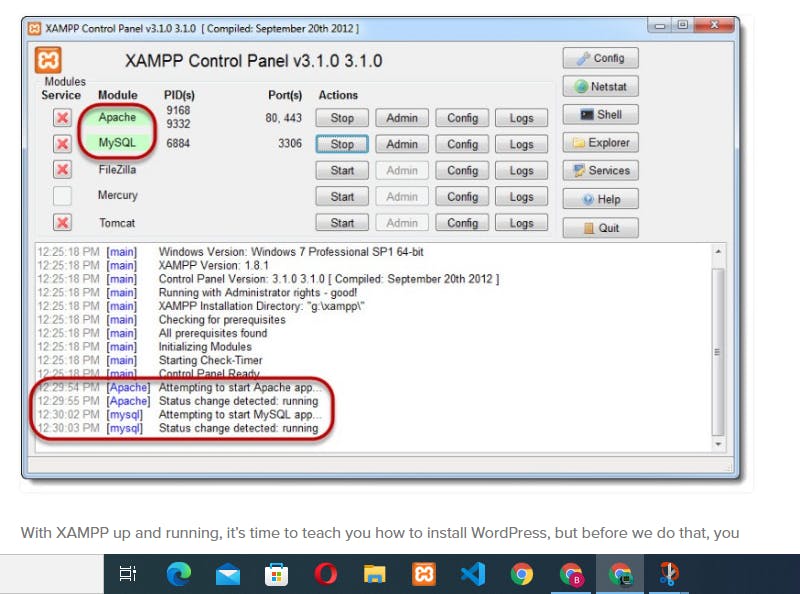
Create your Database by clicking on the MySQL Admin button to go to the PHP my Admin page. There is a "new" button on the top left of the page; click it, let it load, then click the create database button and name the Database you create.
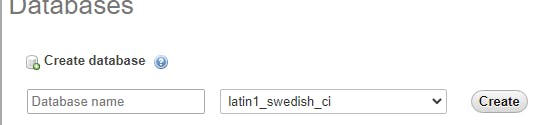
Alternatively, The link localhost/phpMyadmin will take you directly to the database creation page.
Your Database and local server are now set up. You will need the database name later in setting up WordPress.
WORDPRESS
Now to setting up WordPress. To get started, go to the WordPress website wordpress.org and download WordPress.
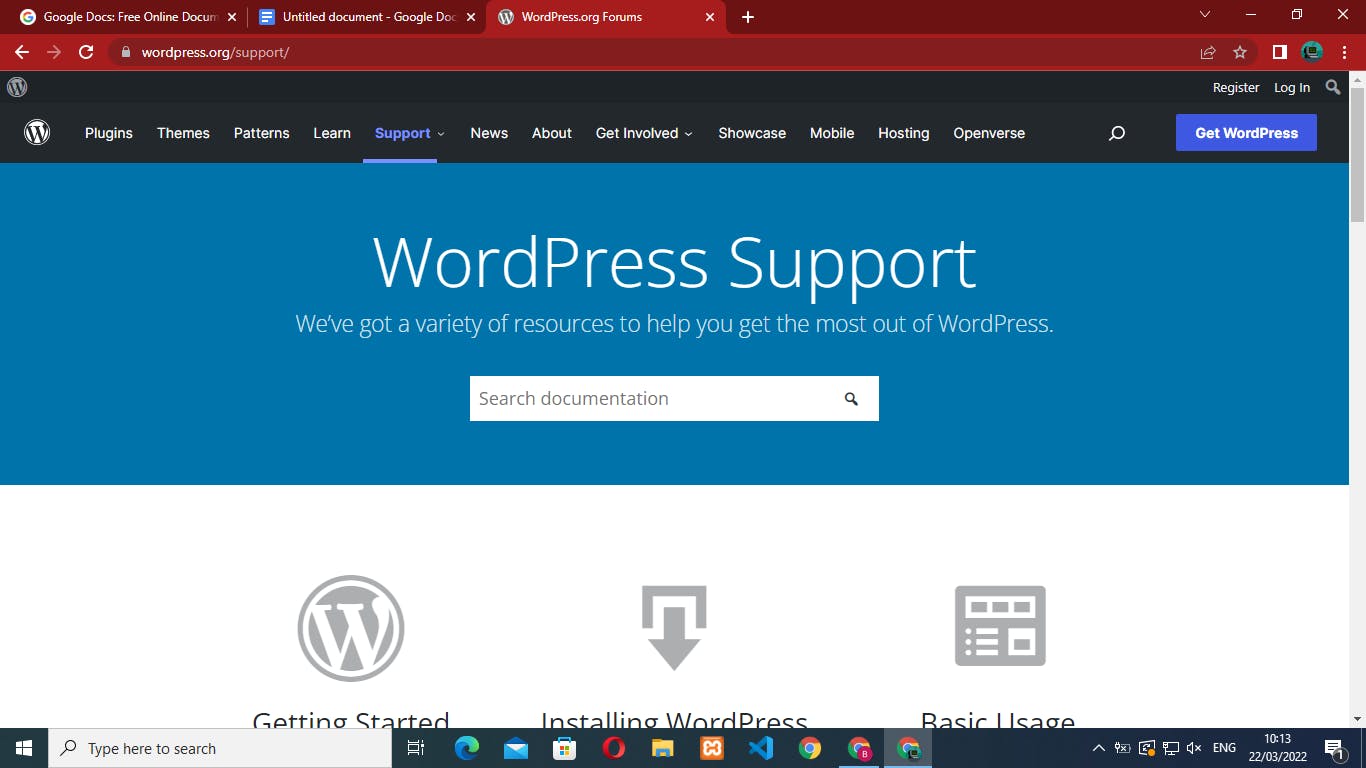
On the wordpress.org page, click the Get WordPress page at the top right-hand corner of the page. The button will redirect you to the get WordPress page, where you will find a download button at the bottom of that page; click the download button on your computer.
 With the downloaded file inside a folder, your computer extracts the files and gives them a name of your choice. Preferably something related to the website you are going to be creating.
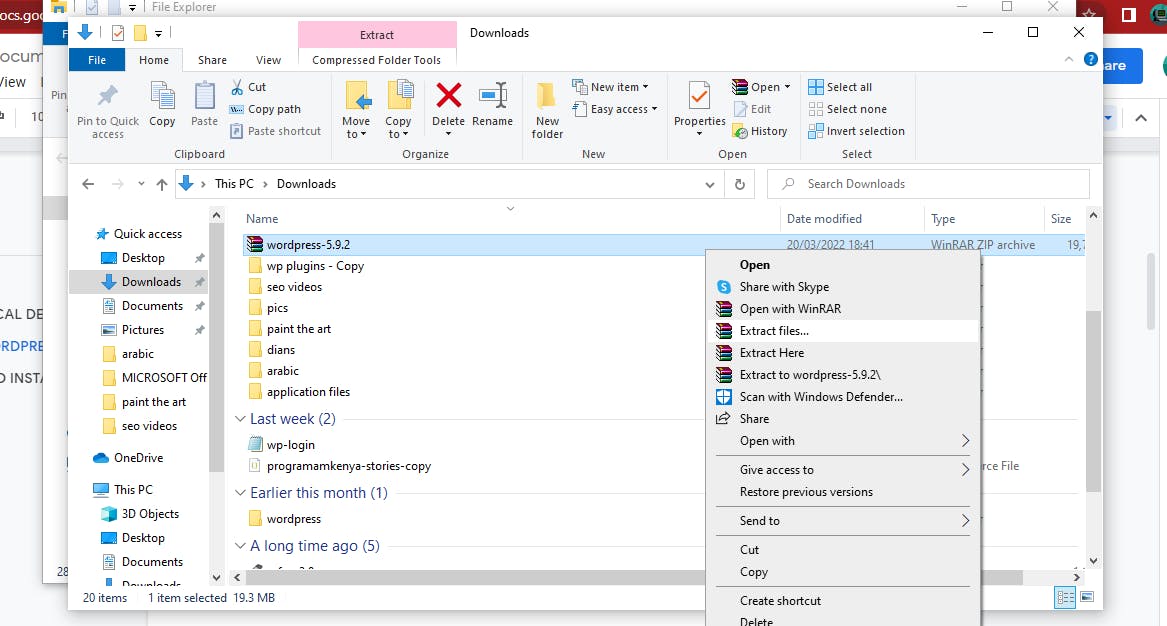
Double click to enter the extracted files folder. Inside you will find another folder called WordPress. Rename this folder as you wish and copy it.
Then go to your local C drive. Go to the place where XAMPP is installed inside XAMPP, go to a folder called htdocs, and paste the file you had copied there.

Now go to your browser and type: localhost/wordpress. It is important to note that WordPress here stands for the file you copied inside htdocs. If you had named it something else, use that particular name.
A page will appear, requesting you to select a language. After clicking "Continue," another page will appear asking you for some details. In brackets is how you should answer the questions.
Database Name(The name of the Database you created in XAMPP)
Database Username(root)
Database Password(Leave empty)
Database Host. (localhost)
Table Prefix(wp_)
"Submit," then "Run the install" button. You will see the "Site Title" field a few seconds later. Enter the title of your site. Create yourself an admin account in the "Username" and "Password" fields. Make sure you save them since you need this information to log in. Enter a valid email address into the "Your Email" field. Double-check all the details, then click "Install WordPress ."If everything is perfect, a success page will be displayed. Moving forward, the following page will display. Enter your particulars and click the login button.
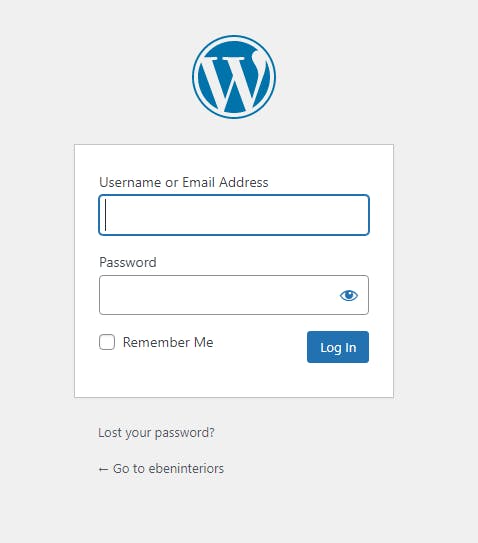 After logging in, you will be redirected to the WordPress dashboard on your newly created site.
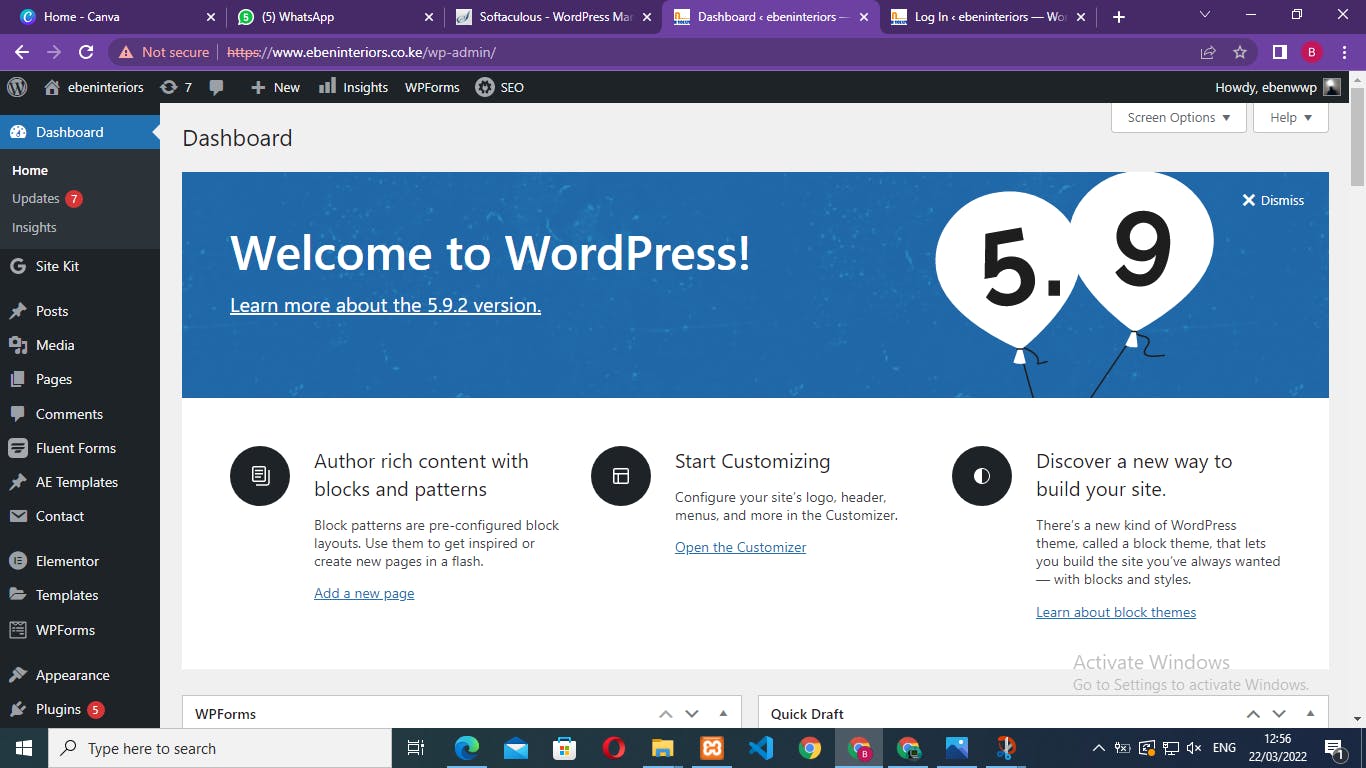
Congratulations, you can now go on and customize your site.
.